THE ARTE OF COLLABORATION
join the waitlist
A curated library for photographers shaping intentional, refined work
THE
LUMIÈRE
COLLECTIVE

Setting Up The Details
February 2, 2021
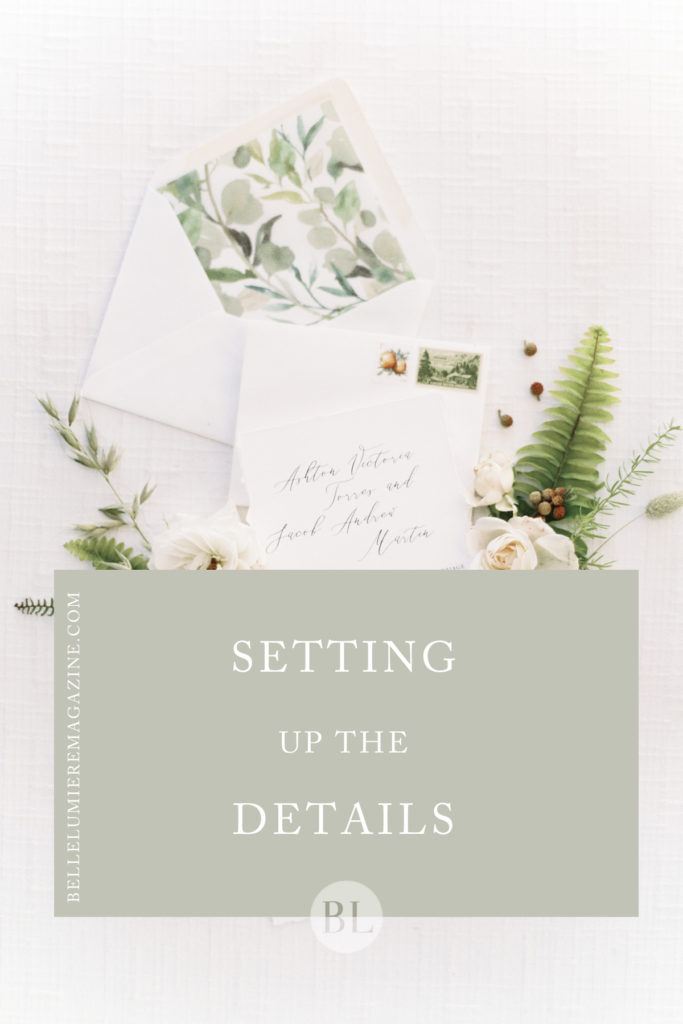
Details are such an important part of documenting a wedding day. These elements, no matter how physically small, are a huge part of telling the story of this incredibly important event.
I tend to start my time with the bride, specifically photographing the details. I photograph her dress alone, often taking it outside to hang in open shade if the bridal suite does not provide a naturally well lit space to hang the gown. I will also include shots of the brides’ gown, along with her bridesmaids dresses.
From there, I like to collect the bride’s jewelry, rings, invitation suite, and shoes, and I will head outside to find some open shade to use to photograph these details. I love using a styling board as a backdrop for overhead shots of these elements all styled up beautifully together and apart. Or, if the venue provides an interesting floor or a place with texture that could serve as a clean backdrop, I will utilize those in order to pull that part of the day into the shots as well.
Within each grouping of details, I love getting shots of everything together, as well as each element individually. I simply do this by shooting overhead, then coming in for tighter shots of each specific element.
I want to provide the bride and groom with tiny treasures of their wedding day… images that even if these details are no longer retained physically years after their wedding, they can still remember then through these photographs.
Most weddings do not come equipped with a stylist to create beautiful flatlays that help tell the story of the day, so this task typically falls onto the photographer.
Hopefully these tips and tricks I have learned over the years of planning and styling weddings will help you as a photographer to efficiently and beautifully capture the details.
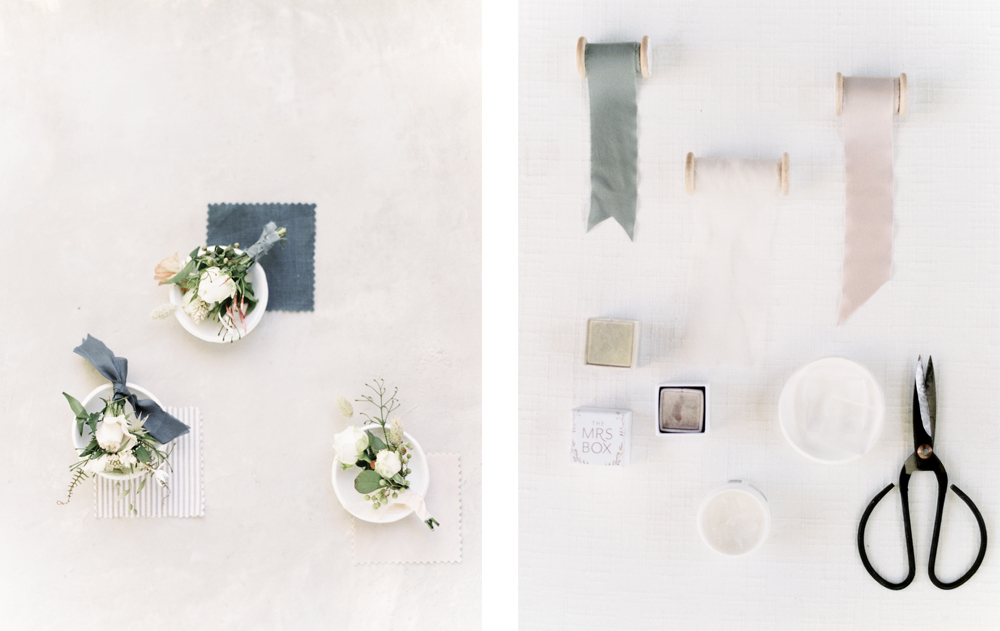
What is in my styling kit?
– Styling boards and surfaces; linen covered, textured, colored art boards, or painted styling mats.
– Velvet ring boxes and mini ceramic ring dishes.
– A variety of silk and velvet ribbons in a few different widths.
– Small gold, brass, or silver vintage inspired scissors for styling, and a pair of sharp fabric scissors for trimming ribbon.
– Styling blocks: Styling blocks can be any small even object used to raise up different aspects of your flatlay. I like to use a variety of acrylic blocks in different sizes and heights.
– Museum wax, or tacky putty.
– A variety of specialty props like antique trays, plates, dishes, wax seals, and vintage stamps.
– Loose flowers and greenery from the florist.
The Wedding Invitations
When styling wedding invitations one option is to use two complete suites along with a hand addressed envelope and response card envelope. I keep one suite complete just as it would go out to a guest; if it doesn’t already have a ribbon I like to tie it up with one I have brought. Then I like to use my second invitation to lay out all the pieces…invitation, information, response card, envelopes, etc.
If you have only been provided with one invitation suite you would lay out all the pieces with the envelopes. I like using as many pieces as possible to make it look really complete.
If the invitation you are working with only has one or two pieces to it consider adding in a few of the name place cards and both the front and back if any pieces are double-sided.
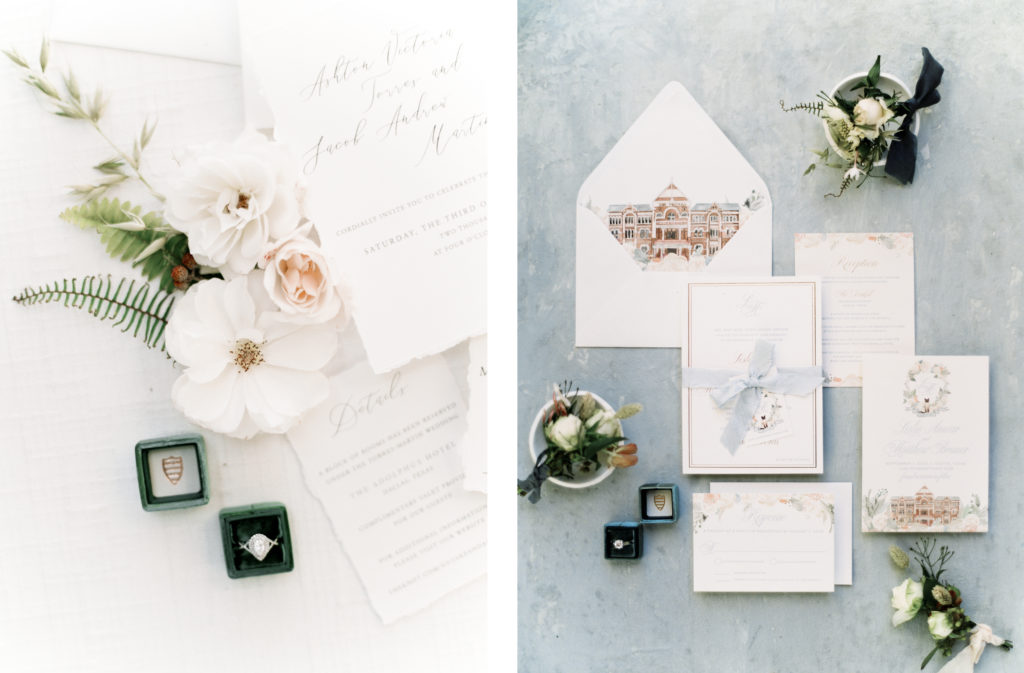
Make the main invite piece the focus of your shot and then add in the other elements from there, either with straight lines or layered at an angle. Use your styling blocks to add varying heights and layers.
If you are having trouble with wind or items not staying in place use your museum wax to keep things where you want them. Once you have the base of your flatlay with the invitation, add in all your other elements. I like to incorporate things like flowers, ribbons, the rings in ring boxes and/or ring dishes, a couple boutonnieres, etc. I like to add coordinating vintage stamps onto my envelope as well.
Other Paper Goods & Details
These components could consist of dinner menus, programs, vow books, and/or the guest book. These are not necessary for all wed- dings but if they are being used I like to incorporate them into my detail flatlays. get creative with this, pull aspects from the wedding, using all the details possible for the couple to remember their day by. If there are individual desserts or edible favors at the wedding you can style those with the menus to add to the visual story.
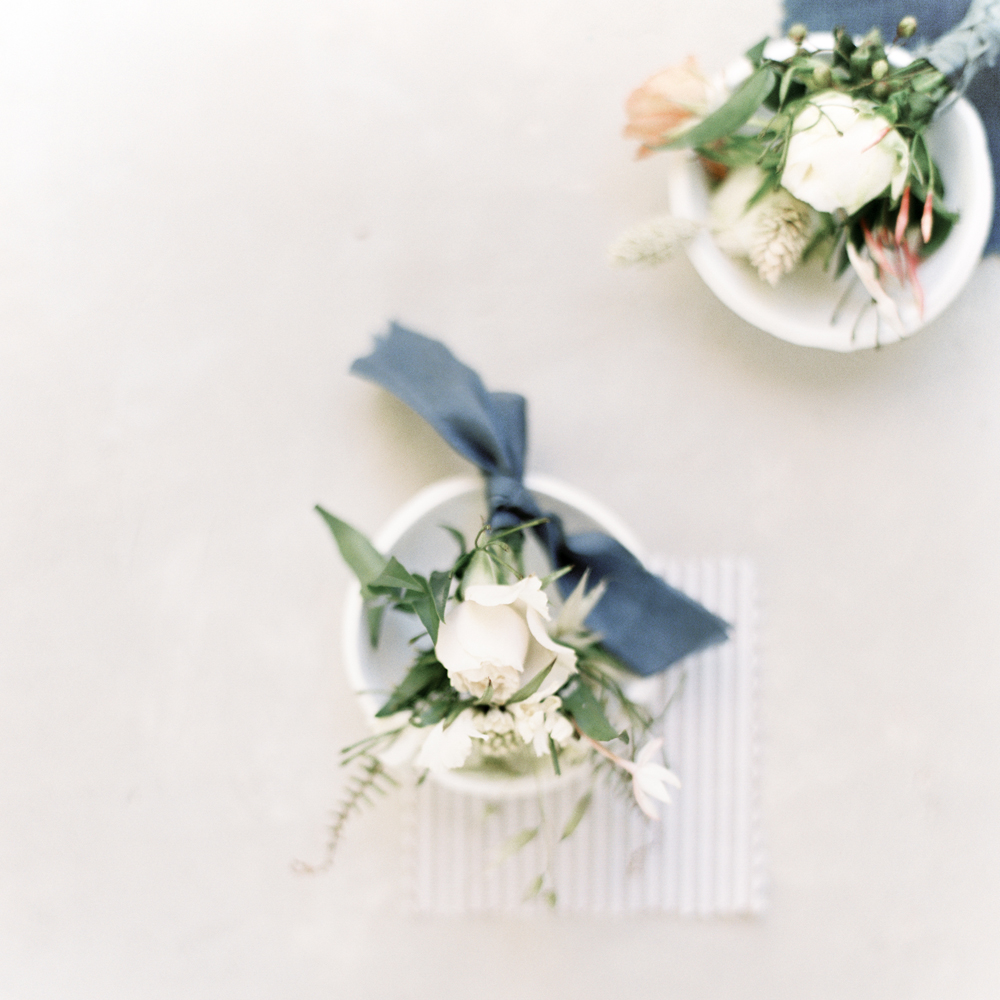
Boutonnieres & Groom’s Details
I think the boutonnieres always seem to be such an afterthought when styling details, however they can create beautiful flatlays. You can lay them out on just a styling surface, add in a vintage tray, or in ceramic dishes. You can also add some of the grooms details to this, such as his tie, cufflinks, cologne, socks, shoes, etc.
Bridal Details
These details can include the rings, other bridal jewelry, shoes, hair accessories, veil detail, garter, perfume bottle, and any other small accessory the bride is wearing or using. I also like to add the bouquet in a few of these photos as well.
Always remember we are telling the story of the wedding day through photographing every little detail, so take the time to include everything you can.
If the wedding day timeline does not allow for you to take the time to shoot it on site you can always take the invitation and a few loose flowers home to shoot that the next day. Anyone can create beautiful flatlays with practice and a great styling kit, so don’t forget to keep adding to yours!
Alex Smith of Daphne Mae Photography lives on a little farm with one handsome almond farmer and their three little ones. Film and words are her mediums of choice in creating and preserving beauty in all seasons. She has been documenting the subtle nuances and in between moments of this beautiful life for others on film for over four years. She looks to find the true treasures of organic connections and soulful emotions within her subjects. Motherhood is her muse, and love is her platform.
Natalie Holland is the creative behind Jade Magnolia and begin her journey in this industry as wedding planner and baker. She has since changed her creative path to become a wedding, food, and product stylist. She also has love for sharing her art while teaching work- shops on charcuterie and flatlays. When she isn’t creating or teach- ing she is at home with her two sons homeschooling and usually spending time in the kitchen cooking.
Shoot Credits
Photographer: Alexandria Smith
Styling: Jade Magnolia
Backdrop: katebackdrop.com.au
Invitations: Pink Champagne Paper
Styling surfaces: JRD Art Shop
Ring Dishes: The Painted Press
Did you know this article is 1 of 40 articles included in our 2019 issue bundle?!! All of which can be grabbed up for 50% off (which is less than $8 an issue). CLICK HERE to learn more about volumes XIV – XVII!!
